The Ultimate Beginners Guide To Tanning
So you’ve decided to dip your toes into the world of fake tan, you’re ready to feel your most confident and look your most glowing… But where, as a newbie, do you even begin?!
IT'S ALL IN THE PREP!
No good tan starts without the right amount of preparation. Slapping it on willy nilly is likely to cause an uneven, patchy result that quickly fades – so take some time to get your tanning ingredients ready before you apply.
Step 1: The day before you should remove any unwanted hair and exfoliate thoroughly to ensure any dry or dull skin is buffed away, leaving a smooth and even surface with which to work. Our Exfoliating Mitt and Miracle Self-Tan Eraser are perfect to use pre-tan, gently but effectively removing any dryness.
Step 2: Around thirty minutes before, moisturise the areas of your body that tan is likely to ‘stick’ too – including elbows, knees, hands and feet. Don’t forget your heels and back of your wrists, which often show tell-tale signs of a tanning sesh!
FIND THE RIGHT TAN FOR YOU
Not all tans are created equal! It’s super important to find your perfect match so you can achieve a result you love, as well as finding a process that doesn’t feel too scary.
1. Tan Type: Would you feel more comfortable starting with a wash-off or gradual tan, or are you happy to get stuck in straight away with a colour that lasts 1-2 weeks?
2. Texture: Do you prefer a mousse, whip, lotion, serum or spray?
3. Guide Colour: Will you need a guide colour to help you buff, blend and ensure you get the tan everywhere it needs to be?
4. Developing Time: Are you happy to apply before bed or wait 6-8 hours for it to develop into a golden glow, or would you prefer a quick fix that can be achieved in 1-3 hours? We have original and express versions for that!
5. Colour: Are you after a subtle glow, a radiant post-holiday tan, or the darkest result you can get?
Once you’ve answered all those questions you should be armed with the perfect tan for you. We have so many different ones to choose from, but if you need a helping hand then give us a shout and we’d be happy to help!
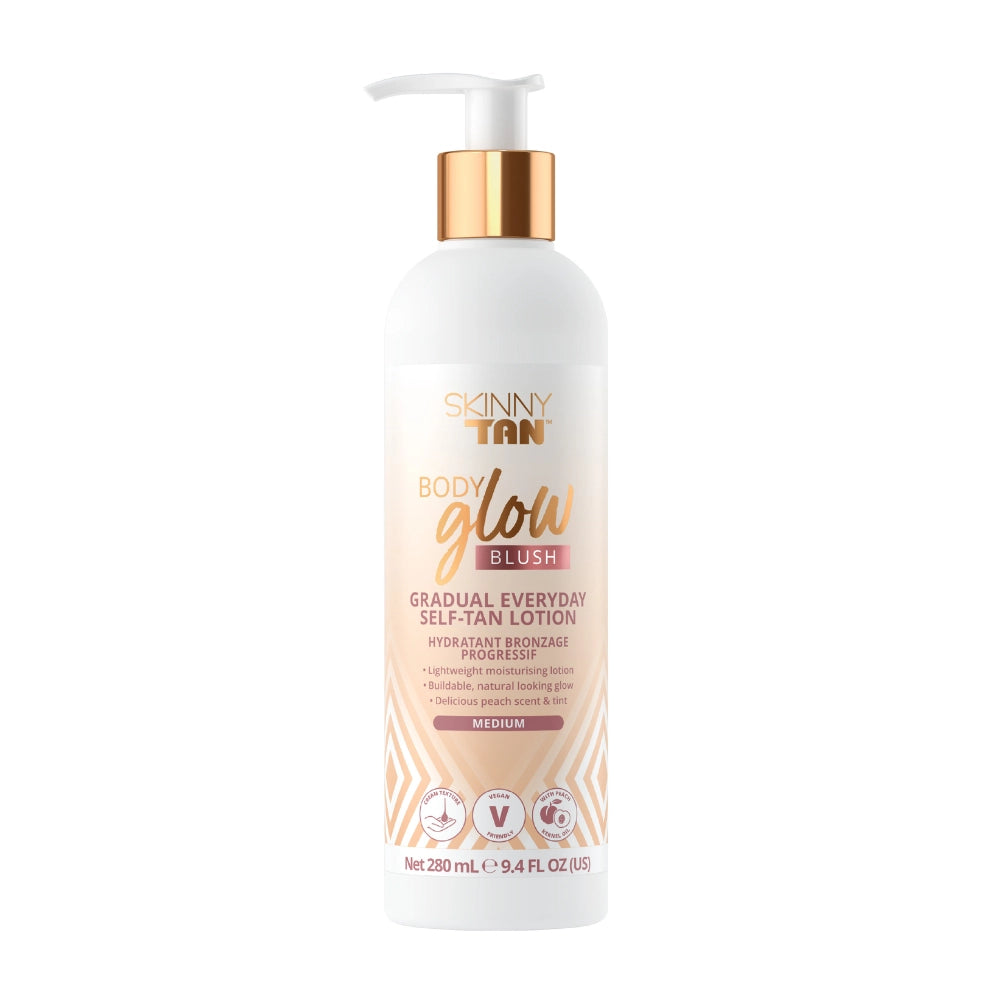
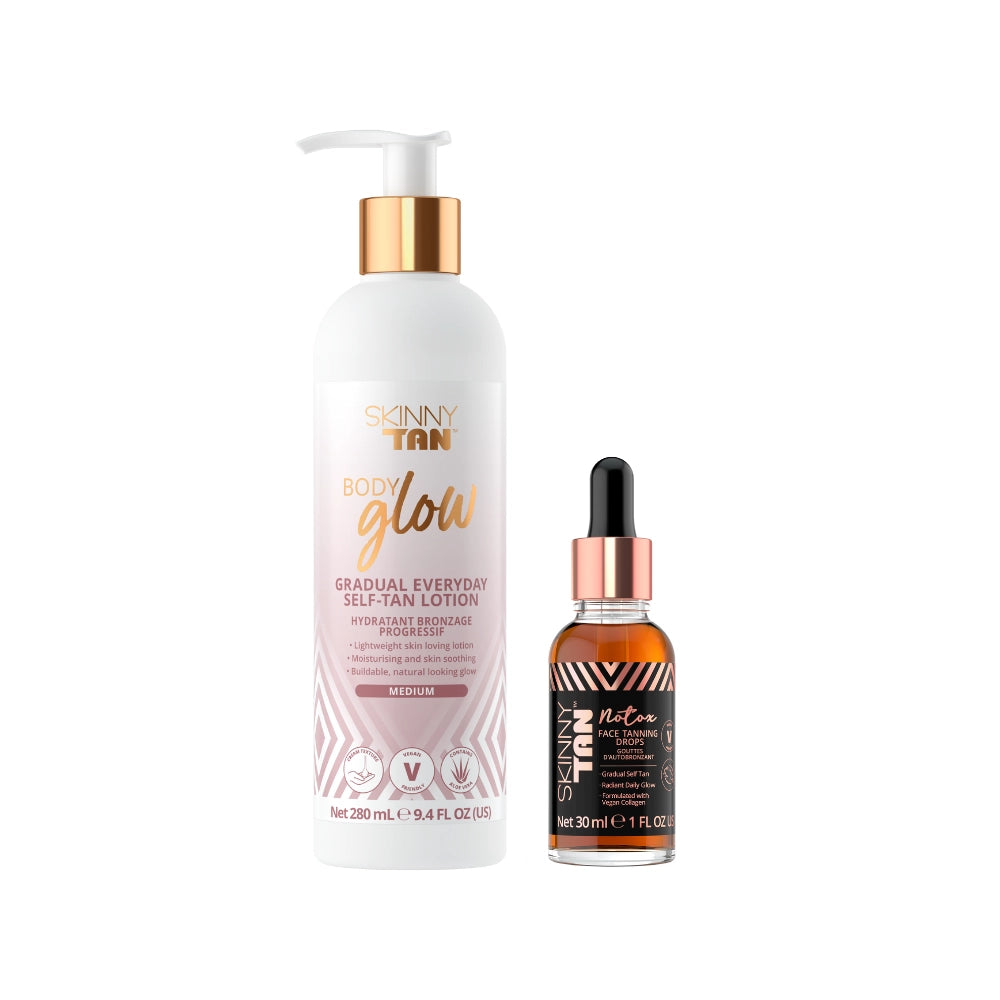
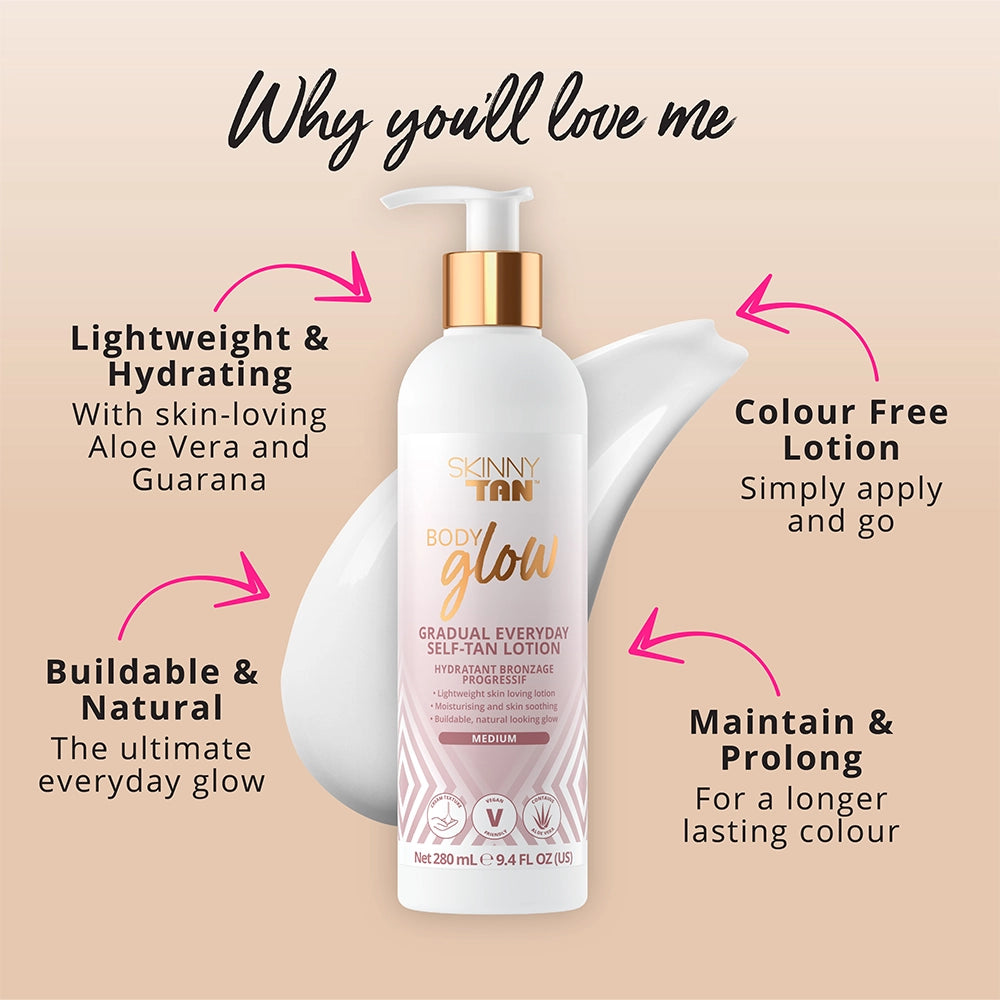
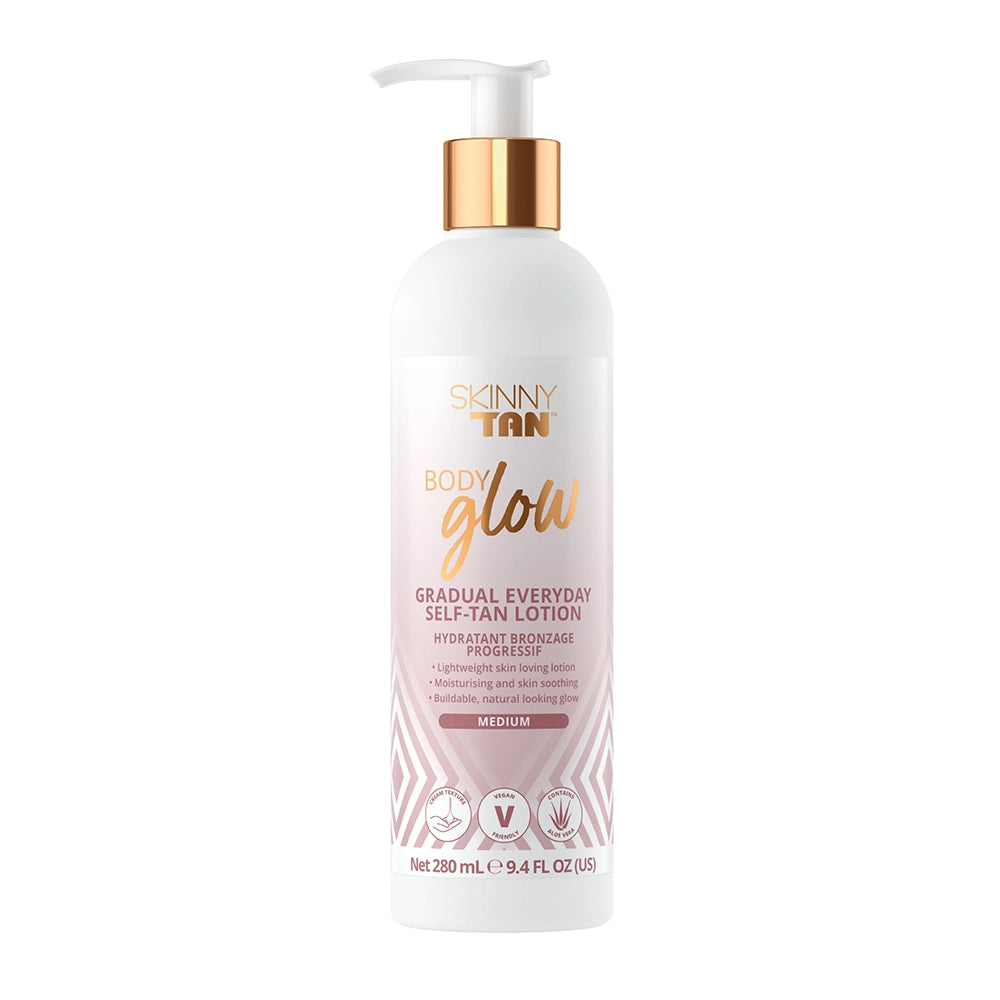
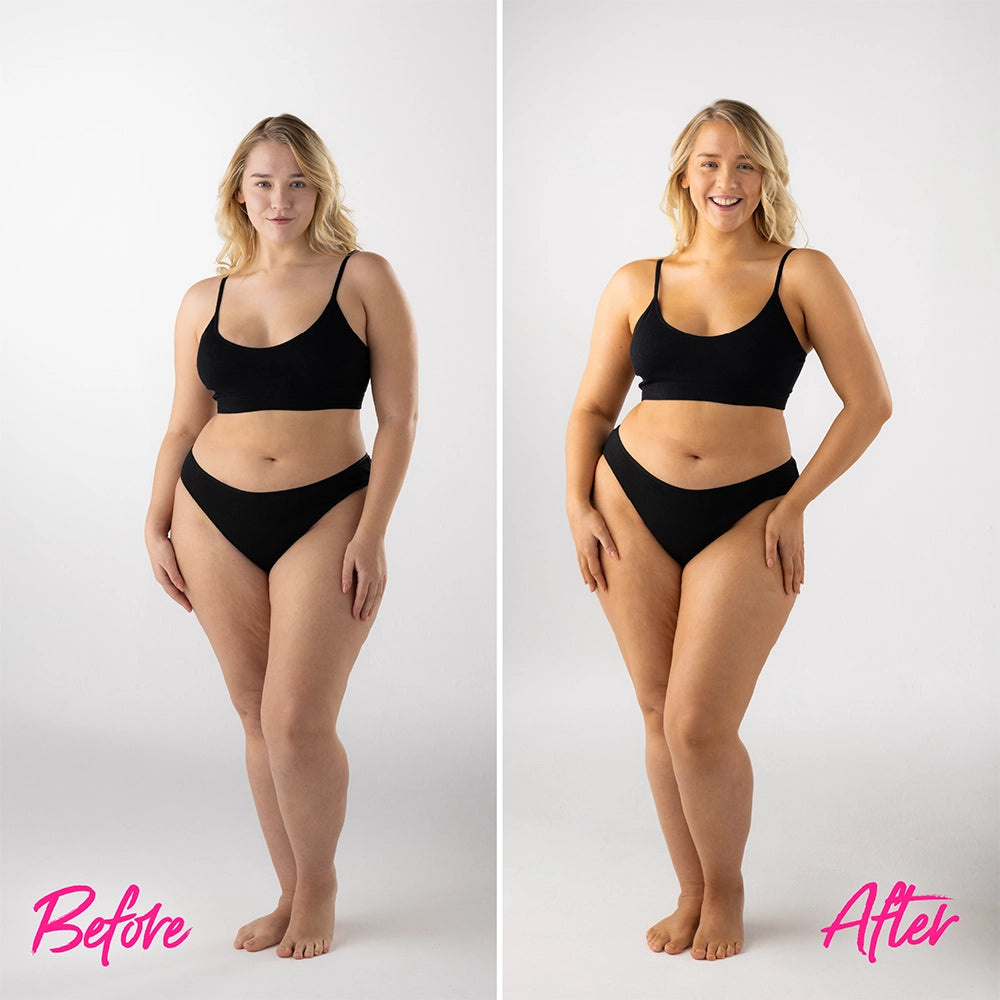
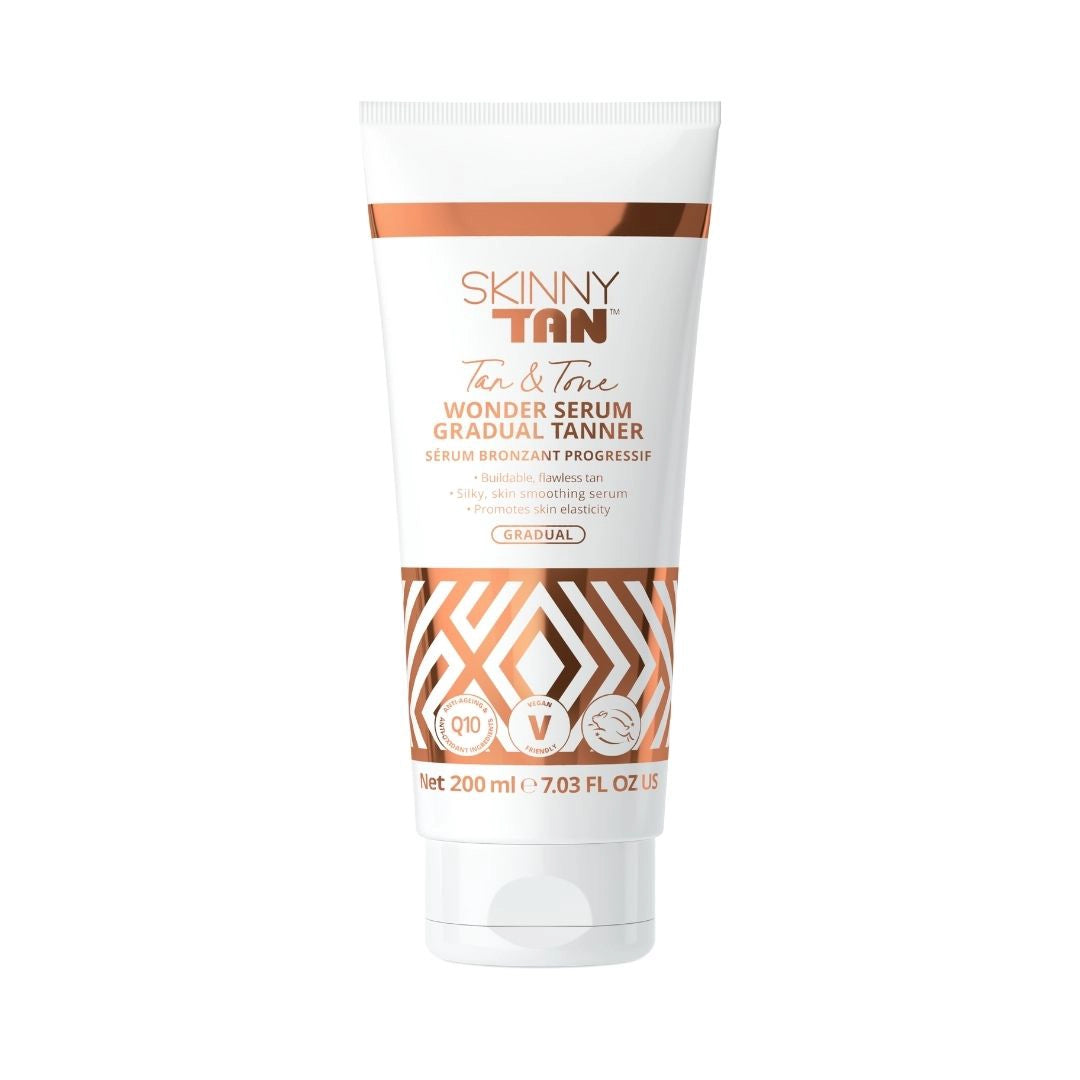
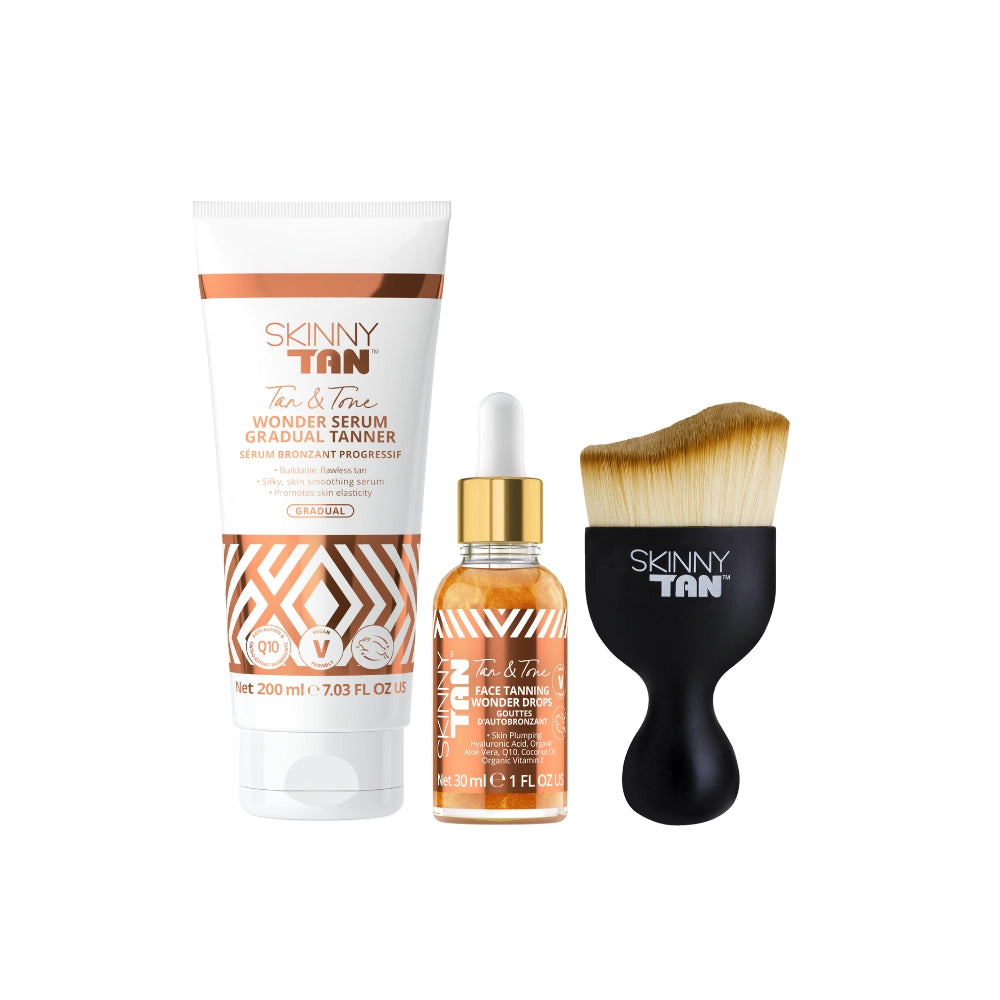
FYI, most of our Skinny Tan Fam like to start with either our Gradual Tanner, Strawberries & Cream Whipped Gradual Tanner or Self-Tan Mousse. The textures are light and easy to apply, while the colour is glowing but not too much for a first timer.

LETS GET STUCK IN...
If you’re new to tanning it’s always a good idea to put some time aside, so you can take it easy and not be in a rush. Enjoy the process!
Step 1: Apply the chosen tan onto your Dual Tanning Mitt*, and apply in small sections to your body. We find it easier to work from top to bottom, but the choice is yours!
Step 2: Be sure to use circular motions to blend it into the skin effectively, using a mirror to see where you may have missed.
Step 3: Avoid applying tan to your hands, feet and face – instead, use leftover tan from the mitt to gently cover these areas and ensure a super natural and streak-free finish.
Step 4: To finish off, add a spritz of our Dry Mist Finishing Spray in circular motions to stop any stickiness or potential transfer.

You’re done! All you have to do is wait for it to dry. We recommend avoiding any tight clothes, deodorant or perfume until it’s developed, so sit back and relax.
Once the colour has fully developed, wash off the guide colour in a warm shower using a gentle cleanser; steaming water or harsh cleansers can cause the tan to fade quicker, and you don’t want to ruin all your hard work!
(*Some of our tans might not need a mitt, so make sure you read their instructions!)
MAINTAINENCE
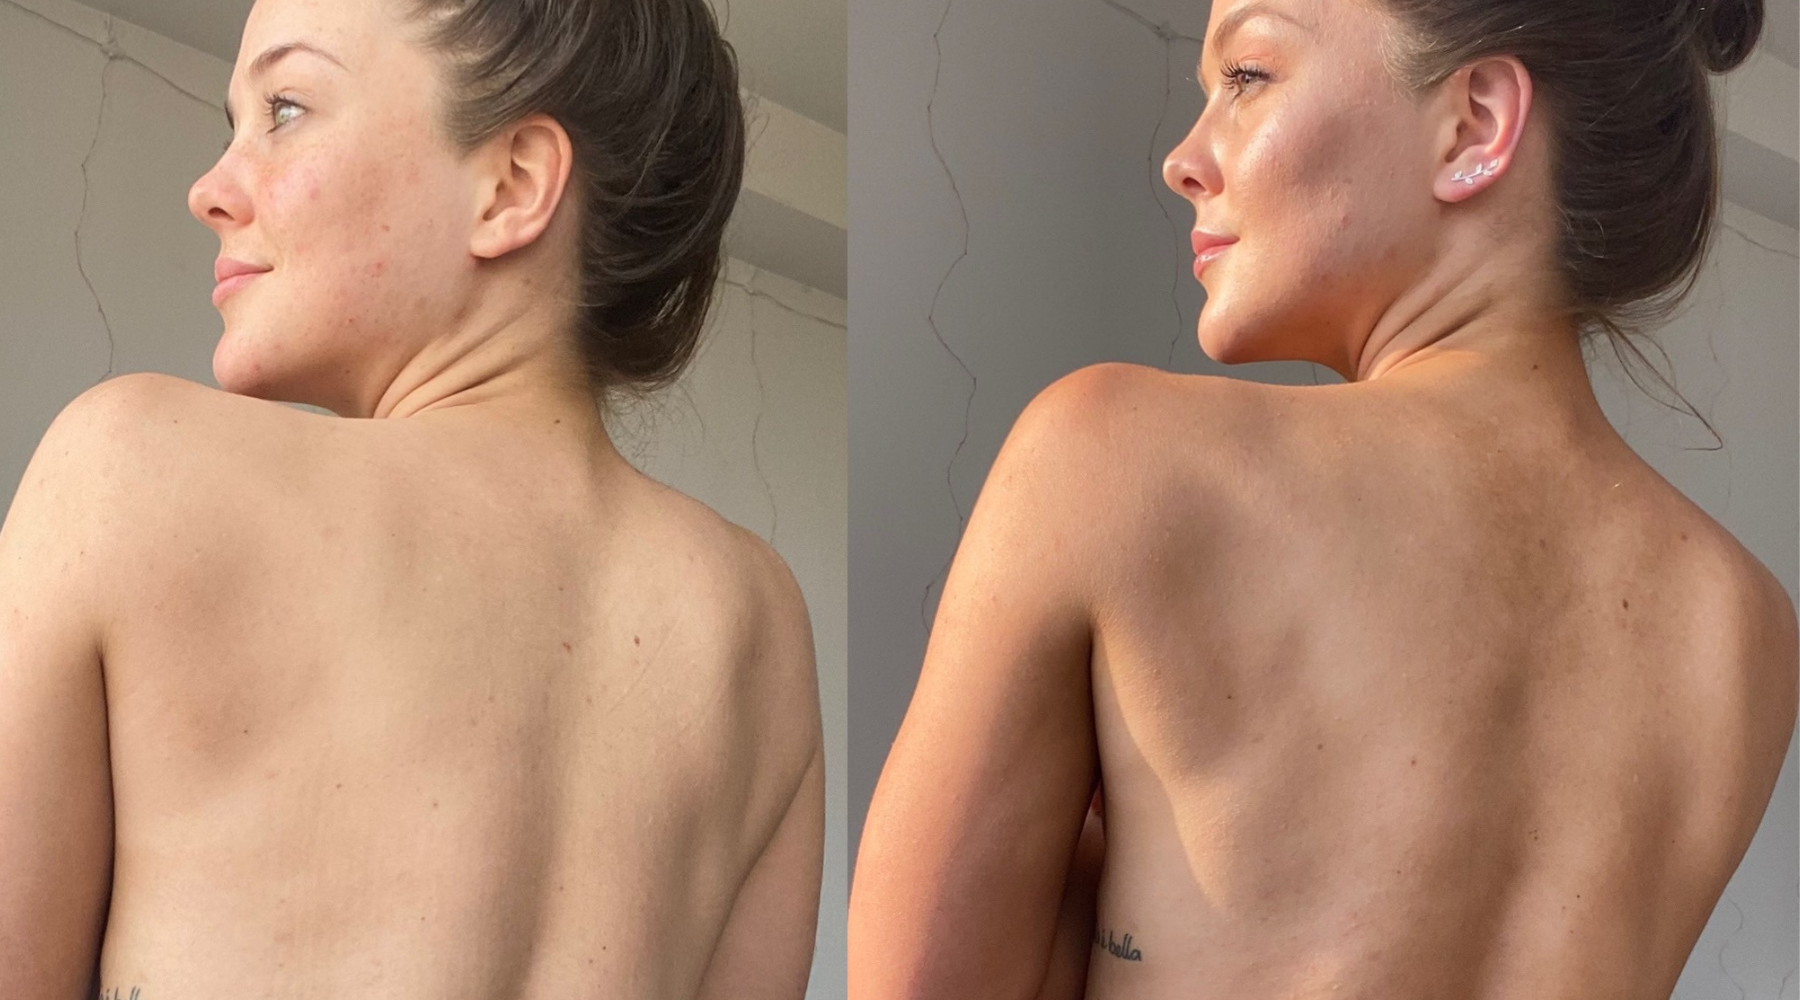
Now you’ve got that golden glow you always dreamed of, you want to look after it so it lasts as long as possible.
Keep Moisturising: Your tan will fade as your skin cells naturally shed, so if you keep them hydrated your tan will last longer! Apply an oil-free moisturiser daily, especially to areas that are prone to dryness.
Gently Exfoliate: To help your colour fade evenly, gently exfoliate every few days and pay special attention to those dry bits again. Something like our Pre-Tan Primer is perfect for helping to nail this process.
Top Up: There’s no harm in using a little of our Gradual Tanner as the colour starts to fade, helping to keep your glow lasting for longer. Once you feel like you need a top-up, then you can start the process all over again!
Happy Tanning!

